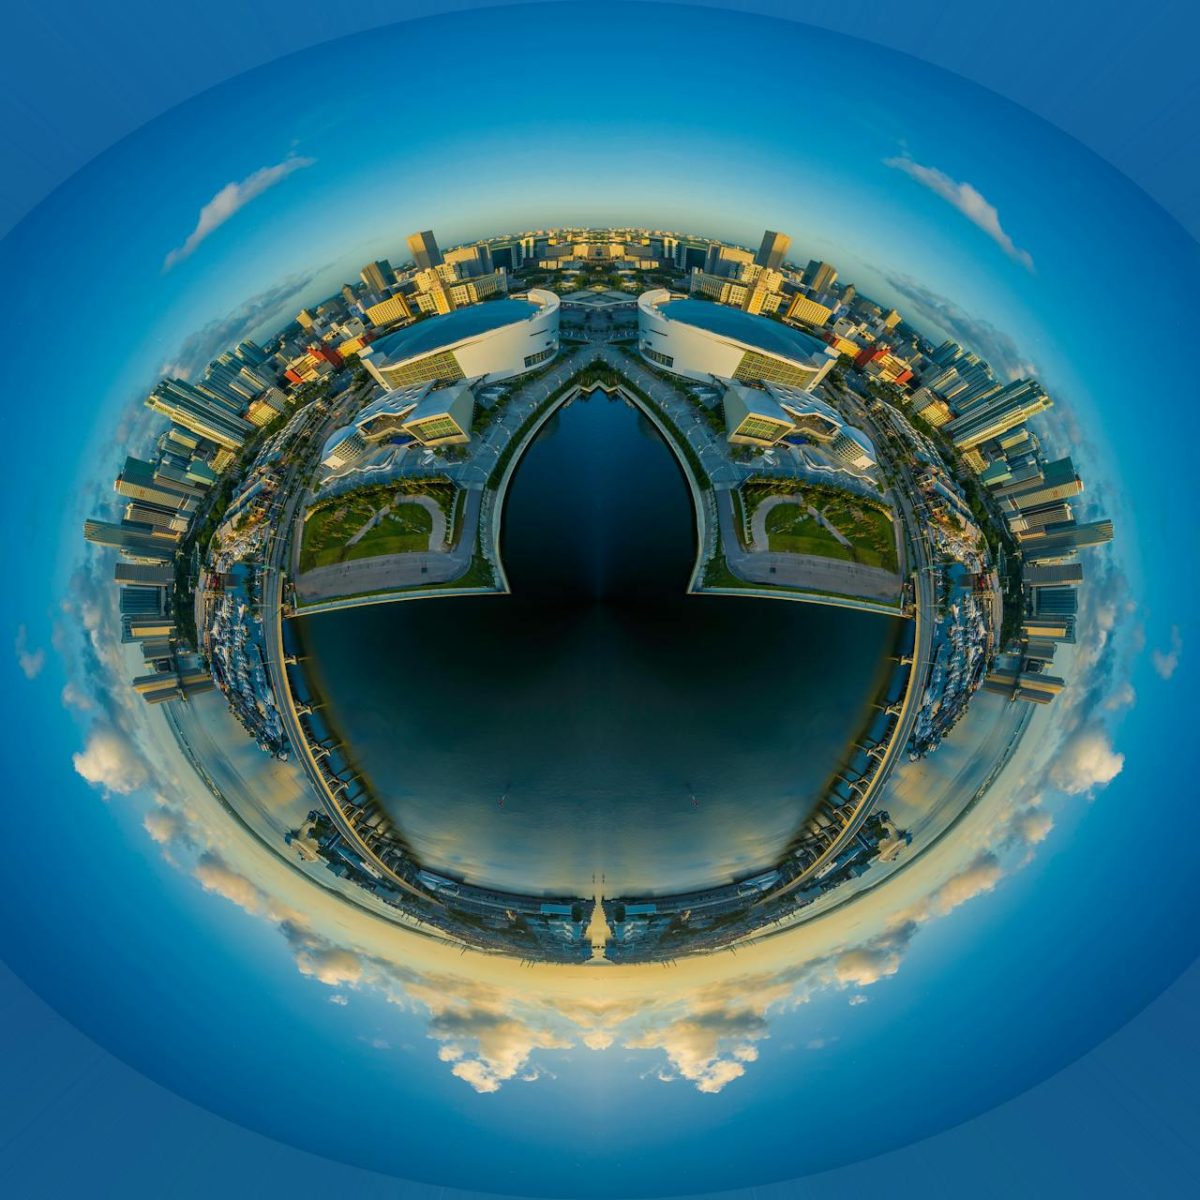
One of the major challenges of creating story experiences or learning resources using 360 video footage is how to direct the viewers’ attention when you need to.
This post won’t try to answer the the question of why you might want to use 360 video. I’ll assume for now you’ve made that decision.
Part of the fun of immersive video is the freedom to look around the whole video “sphere” but there may be instances where you want your viewer to focus in on particular things from time to time. This is a technical and artistic challenge.
With traditional video, you are operating within a fixed frame and you have about a century’s worth of film “language” to draw on. With 360 video, not so much!
For Christmas this year, I received a Go Pro Max 360 camera and sent it up with my son on New Years Eve who was having a gliding lesson over the Cheviots, to experiment with a few ideas.
I’ll start by outlining a handful of methods of directing attention with traditional video and then suggest a few ways of achieving similar results in 360 video. I’ve added a few examples which are first attempts. hopefully you’ll be able to view them without needing a VR headset; try clicking and dragging the video to move the view.
Traditional means
Depth of field
This uses lens optics as a way of selecting what in a shot appears in focus and what is blurred. Our eyes automatically switch to the thing that is in sharper focus. You can sometimes see cinematographers shifting focus between 2 people interchangeably within the same shot as they converse.
Here’s an example.
This is hard to achieve in 360 video. As a general rule, lenses and apertures in consumer level 360 cameras are set to ensure that pretty much everything is in focus all the time, regardless of how far away from the camera it is.
Framing
If you are working within a traditional frame, this constraint allows you a range of options where you place the thing you want to focus attention on. Things taking up more of the frame tend to feel more powerful than things occupying a smaller portion of it. You can also choose to frame objects from above or below, enhancing the feeling.
Without a traditional frame in 360 video, you don’t have quite as many creative options to achieve this.
Mise-en-scene
The term mise-en-scene simply means “things in front of the camera”. A good director will ensure that, as much as possible, the things appearing in shot are there for a reason and distractions are removed. Too much clutter is distracting.
In 360 video your canvas is much larger and it’s harder to control what objects are in shot.
Pan, zoom and dolly
How a traditional camera moves to reframe shots while action is happening can be a powerful tool for directing attention. Panning means moving the camera side to side, zoom involves changing the focal length of the lens to increase or reduce the size of something in shot, and dolly moves require the physical movement of the camera.
Here’s an example of camera movement to direct attention.
Again, in 360 video, your options are limited here but not impossible.
Sound editing
Sound editing can be very powerful and operates a little like mise-en-scene but with audio. We naturally use sound cues in real life to identify where threats or objects of interest are before we can see them.
It can be hard to achieve though as it relies on things like placement of mics, being able to separate out background noise or even recording new sound to replace what was captured by the camera. All these require editing software flexible enough to allow you to work with multiple audio tracks.
VR Techniques
Let’s assume that the easy option is just to have a voiceover that tells the viewer to look at something and think a bit more visually…
Positioning
While it’s true that in 360 video you can use the entire surrounding “bubble”, your viewer may not have complete freedom of movement to look in all directions. This is especially important for creating more accessible video experiences.
Think about the amount of physical effort required to bring something into view. Or how much clicking and dragging if they are viewing the video in a 2d environment.
You can make this easier for yourself by thinking about it while filming. 360 cameras have a natural “front” so knowing how your model determines this is important and can save a lot of time in post-production.
- Difficulty – 1/5
- Effectiveness – 4/5
Position shifting
This is a bit of a “brute force” technique that forcibly shifts the 360 sphere around the viewer so that the main area of focus is in front of them in the most comfortable viewing position while the shot progresses.
This reduces the physical movement needed but might also be disorientating for the viewer, a bit like someone turning their head for them. If using this, try to keep shifting position to a minimum and use gentle movements.
You might have dramatic or creative reasons for using rapid movement, but always imagine the impact on your viewer.
Premiere Pro has an effect called VR Rotate Sphere that will do this.
NOTE: This video won’t work so well outside of a VR headset as once you’ve moved the view by dragging it in the video player, the virtual camera is misaligned and so will consistently be pointing at the wrong thing. This is important if you’re unsure if people will be viewing the material using a headset.
- Difficulty – 2/5
- Effectiveness – 2/5 (3/5 if you’ve got a headset).
Directional blurring
Without the ability to create depth of field effects in camera, you’re limited to using your editing software to create a version of the effect.
I’ve been using Adobe Premiere Pro to edit which has a dedicated effect for blurring 360 video which works more effectively than the effect designed for traditional video.
You can blur the entire scene then use the masking tool in the effects controls to isolate a portion of the scene to remain unblurred. I used edge feathering to create a bit of a blur gradient so that the eye naturally moves towards areas of sharper focus.
This clip starts with no directional blurring, then the effect is applied and switches focus between the glider controls and the pilot.
NOTE: If you are using this in conjunction with position shifting, or like here where the Go Pro software is adjusting for the glider movement, you’ll need to use keyframing so that the mask follows the camera “movement”. This can be time consuming in Premiere. After Effects might be a solution here as that can do motion tracking but I didn’t try that out.
- Difficulty – 3/5
- Effectiveness – 3/5
“Freeze Masking”
This technique is a bit more creative and complicated to achieve. It uses the idea that your eyes are drawn to movement by artificially freeze-framing portions of the shot where the viewers’ attention should be. It only really works with stable camera shots so your snowboarding movies won’t work well here, sorry.
You’ll need the 360 video footage for your scene and an exported 360 still image from the same scene to achieve this. It also needs an editing tool that supports multiple video tracks.
- Place the moving footage on track one and the still image as an overlay on track two. Stretch the image duration out so it lasts as long as the video footage.
- On the overlay track two (the still image), go into the effects controls and find opacity. Use the mask tool to draw a “frame” that will show the moving footage.
- Change the opacity to 100% and select the “invert” tick box.
This effectively punches a hole through the still image to show the moving video beneath. Experiment with the size of the mask, “feathering” the edges to make it less stark, or keyframing to change the effect over time.
Here’s an example. The mask moves around to highlight different groups. I’ve also desaturated the colour of the still image to make the moving bit “pop” a little more. There’s no sound on the video.
- Difficulty – 3.5/5
- Effectiveness – 3/5
Directional sound
I hit a bit of a brick wall with this one. The idea I had was to pinpoint sounds in space so that sounds seem like they were coming from different locations, but the sounds would be “world-locked”, so their location moves with your head.
Sadly, I just couldn’t get Adobe Premiere to play properly with this and I ran out of time. There’s not much guidance online. I’ll file it under “nice idea” for now and come back to it another time. If you have any suggestions, let me know.
- Difficulty – 6/5
- Effectiveness – who knows?
Wrapping up
Any sort of video production is a challenge and trying to create 360 video experiences compounds the technical and creative challenges. It’s also a relatively new form of media, compared with cinema, so there aren’t many conventions to draw on like there is with traditional video.
Overall, I think these experiments have been partially successful. I’ve managed to get them to work (mostly) from a technical perspective but from a user experience or artistic viewpoint, I’m not so sure. It’s going against the grain of the format and the technology rather than working with it. The other consideration is that I’m using software that is quite expensive to achieve these results. Not all can be created using the software that comes bundled with the camera.
A next possible step is to try to do all the above but using an Open Source video editor like Da Vinci Resolve.
I suspect that the best approach is to use combinations of the ideas I suggested above but trying to keep the results reasonably subtle. Always think about your viewer experience, asking yourself how accessible the end result will be. Test it as you go.
In terms of general mindset, Dr Atif Ghani from the Royal College of Art explained to me, that it’s better to think about a 360 Video experience more like theatre then cinema – “all about action in the frame”, he said which I find quite helpful.
Additional support
If you’re interested in this topic generally, then check out the following:
The Jisc Extended Reality Maturity Toolkit – a resource co-designed with the education sector.
Join the Jisc UK XR Community.
With thanks to Borders Gliding Club, Northumberland and to my colleagues in Jisc’s Advice Team
Photo by Sharon